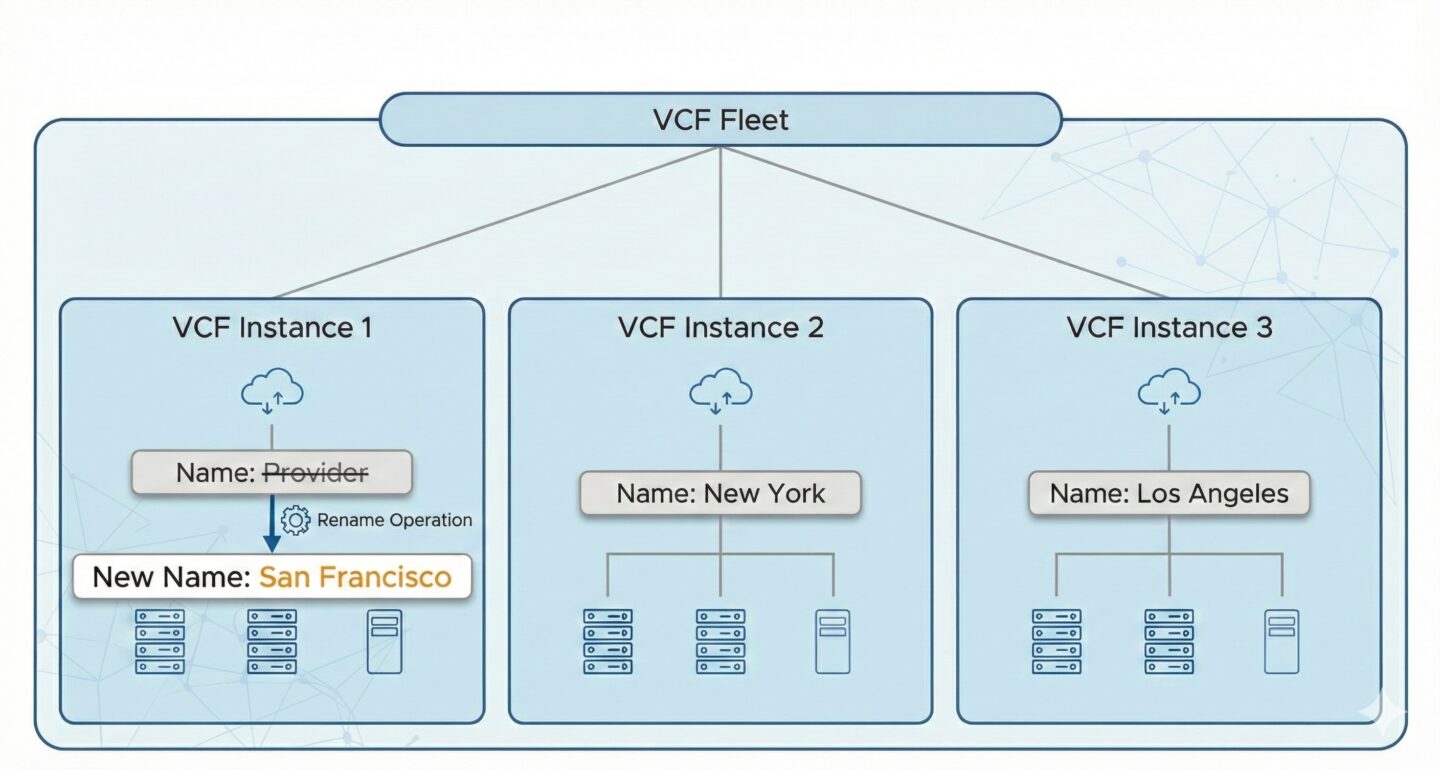
With the introduction of VMware Cloud Foundation 9, managing multiple VCF instances across a VCF Fleet has become significantly more streamlined.
Part of day-two operations often involves aligning your infrastructure with evolving organizational standards. Fortunately, VCF 9 makes renaming an underlying VCF instance non-disruptive and straightforward.
In this scenario, we’re changing an initial instance named “Provider” to align with its geographic location, “San Francisco.”
Steps: Update VCF Operations
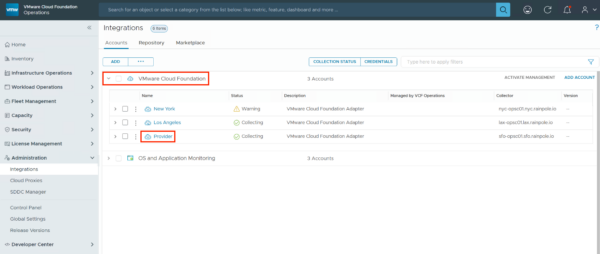
1. Login to VCF Operations and navigate to Administration -> Integrations
2. Expand VMware Cloud Foundation to see your connected instances.
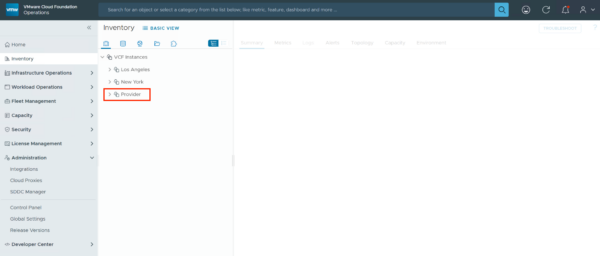
3. Locate the instance you wish to rename – in our case, Provider
(Disregard the warning on New York, it’s a lab after all!)
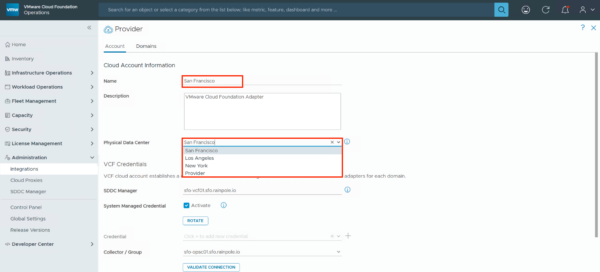
4. In the Account details view, you will see the current Name and Physical Data Center set to “Provider.”
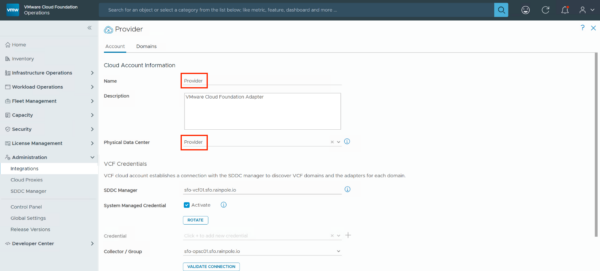
5. Enter the new Name.
6. If required, choose a new Physical Data Center location from the dropdown.
Note: If you need to define a new physical location first, you can do so under Administration > Control Panel > Physical Data Centers.
7. Once a new name and optionally a new physical data center has been entered, go ahead and hit Save.
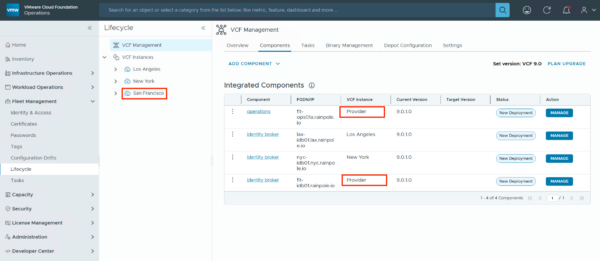
Fleet Management doesn’t reflect the name change
Note that VCF Operations -> Fleet Management -> Lifecycle will still display the initial name. I have raised this internally with engineering, and significant changes are coming to Fleet Management in VCF 9.1 so this won’t be addressed in VCF 9.0.x.
Leave a Reply